
The back of the tile was cast first. For the tiles to appear as if they are floating in front of the wall, I made them 3" deep. Molds are so sculptural, a work of art. The two holes in the middle allow for the slip to be poured into the mold.

Then the front of the tile is cast. The holes and bumps along the edges are called "keys" so the two halves lock into each other.

Top and bottom are held together by a banding strap. It ended up being a heavy mold, which gets only heavier once the slip is poured in. Oy.

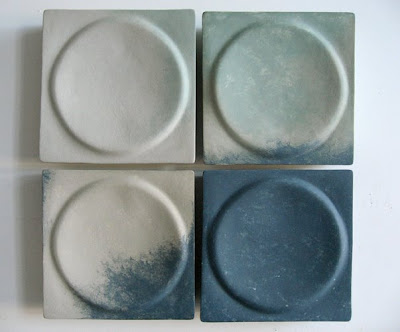
Compare the following two images. The first image is of the tile in its "green" stage, dry clay. The second is of the final vitrified high-fired tile. Notice how much smaller the final one is. The porcelain slip I work with shrinks about 10% when it is fired to a high temperature. The final size of the tile is 10.75" x 10.75" and 2.5" deep.


Here is the final cloudy moonscape tile painting, now for sale on Etsy.
Tidak ada komentar:
Posting Komentar